Navigation Drawer in java
Top app bar
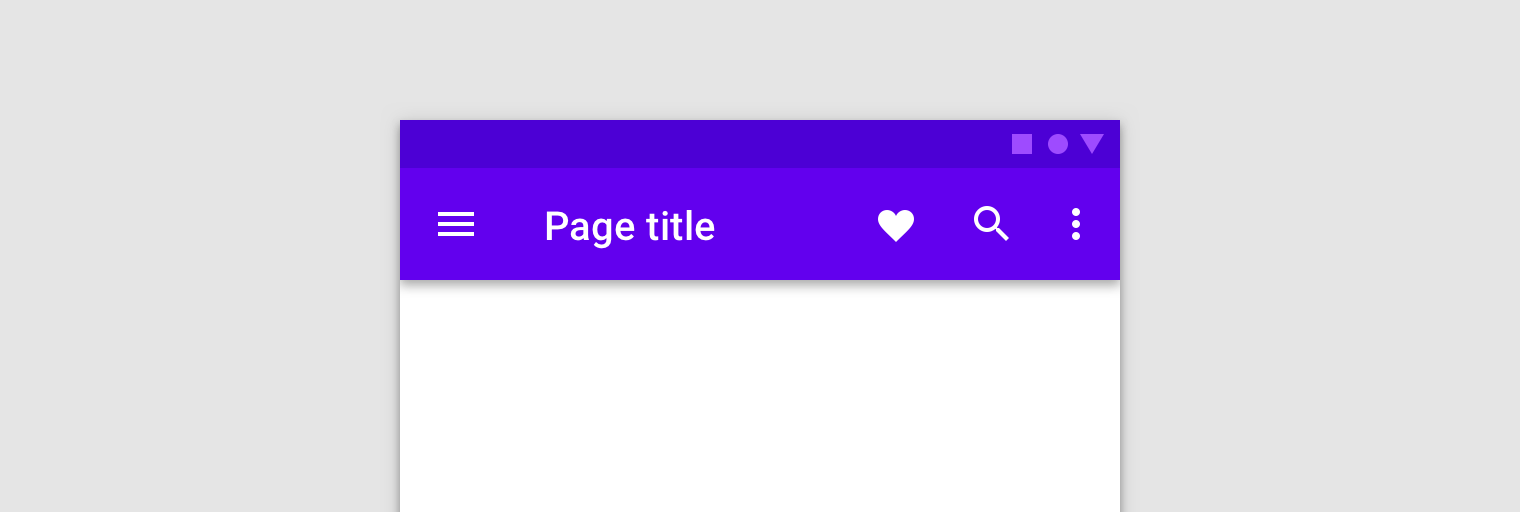
The top app bar provides a consistent place along the top of your app for displaying information and actions from the current screen.
NavigationUI contains methods that automatically update content in your top app bar as users navigate through your app. For example, NavigationUI uses the destination labels from your navigation graph to keep the title of the top app bar up-to-date.
When using NavigationUI with the top app bar implementations discussed below, the label you attach to destinations can be automatically populated from the arguments provided to the destination by using the format of {argName} in your label.
NavigationUI provides support for the following top app bar types:
For more information on app bars, see Set up the app bar.
AppBarConfiguration
NavigationUI uses an AppBarConfiguration object to manage the behavior of the Navigation button in the upper-left corner of your app's display area. The Navigation button’s behavior changes depending on whether the user is at a top-level destination.
A top-level destination is the root, or highest level destination, in a set of hierarchically-related destinations. Top-level destinations do not display an Up button in the top app bar because there is no higher level destination. By default, the start destination of your app is the only top-level destination.
When the user is at a top-level destination, the Navigation button becomes a drawer icon ![]() if the destination uses a
if the destination uses a DrawerLayout. If the destination doesn't use a DrawerLayout, the Navigation button is hidden. When the user is on any other destination, the Navigation button appears as an Up button  . To configure the Navigation button using only the start destination as the top-level destination, create an
 AppBarConfiguration object, and pass in the corresponding navigation graph, as shown below:
In some cases, you might need to define multiple top-level destinations instead of using the default start destination. Using a BottomNavigationView is a common use case for this, where you may have sibling screens that are not hierarchically related to each other and may each have their own set of related destinations. For cases like these, you can instead pass a set of destination IDs to the constructor, as shown below:
Create a Toolbar
To create a Toolbar with NavigationUI, first define the bar in your main activity, as shown:
Next, call setupWithNavController() from your main activity's onCreate() method, as shown in the following example:
To configure the Navigation button to appear as an Up button for all destinations, pass an empty set of destination IDs for your top-level destinations when building your AppBarConfiguration. This can be useful if, for example, you have a second activity that should display an Up button in the Toolbar on all destinations. This allows the user to navigate back to the parent activity when there are no other destinations on the back stack. You can use setFallbackOnNavigateUpListener() to control the fallback behavior for when navigateUp() would otherwise do nothing, as shown in the following example:
Include CollapsingToolbarLayout
To include a CollapsingToolbarLayout with your Toolbar, first define the Toolbar and surrounding layout in your activity, as shown below:
Next, call setupWithNavController() from your main activity's onCreate method, as shown below:
Action bar
To add navigation support to the default action bar, call setupActionBarWithNavController() from your main activity's onCreate() method, as shown below. Note that you need to declare your AppBarConfiguration outside of onCreate(), since you also use it when overriding onSupportNavigateUp():
Next, override onSupportNavigateUp() to handle Up navigation:
Support app bar variations
Adding the top app bar to your activity works well when the app bar’s layout is similar for each destination in your app. If, however, your top app bar changes substantially across destinations, then consider removing the top app bar from your activity and defining it in each destination fragment, instead.
As an example, one of your destinations may use a standard Toolbar, while another uses an AppBarLayout to create a more complex app bar with tabs, as shown in figure 2.

Toolbar. On the right, an AppBarLayout with a Toolbar and tabs.To implement this example within your destination fragments using NavigationUI, first define the app bar in each of your fragment layouts, beginning with the destination fragment that uses a standard toolbar:
Next, define the destination fragment that uses an app bar with tabs:
The navigation configuration logic is the same for both of these fragments, except that you should call setupWithNavController() from within each fragment's onViewCreated() method, instead of initializing them from the activity:
Tie destinations to menu items
NavigationUI also provides helpers for tying destinations to menu-driven UI components. NavigationUI contains a helper method, onNavDestinationSelected(), which takes a MenuItem along with the NavController that hosts the associated destination. If the id of the MenuItem matches the id of the destination, the NavController can then navigate to that destination.
As an example, the XML snippets below define a menu item and a destination with a common id, details_page_fragment:
If your menu was added via the Activity's onCreateOptionsMenu(), for example, you can associate the menu items with destinations by overriding the Activity's onOptionsItemSelected() to call onNavDestinationSelected(), as shown in the following example:
Now, when a user clicks the details_page_fragment menu item, the app automatically navigates to the corresponding destination with the same id.
Add a navigation drawer
The navigation drawer is a UI panel that shows your app's main navigation menu. The drawer appears when the user touches the drawer icon ![]() in the app bar or when the user swipes a finger from the left edge of the screen.
in the app bar or when the user swipes a finger from the left edge of the screen.

The drawer icon is displayed on all top-level destinations that use a DrawerLayout.
To add a navigation drawer, first declare a DrawerLayout as the root view. Inside the DrawerLayout, add a layout for the main UI content and another view that contains the contents of the navigation drawer.
For example, the following layout uses a DrawerLayout with two child views: a NavHostFragment to contain the main content and a NavigationView for the contents of the navigation drawer.
Next, connect the DrawerLayout to your navigation graph by passing it to AppBarConfiguration, as shown in the following example:
Next, in your main activity class, call setupWithNavController() from your main activity's onCreate() method, as shown below:

0 Comments
Post a Comment